


Devils Food Cake

Do you know how devils food cake got its name? Actually no one really knows. Some believe because it is the polar opposite of angel food cake. Either way if you know a chocolate lover, this is the cake to make. The fourth of July is one of our family friends/basically older sisters birthday, since she is currently in school at Azuza, I told her that she has to come over for dinner and cake.
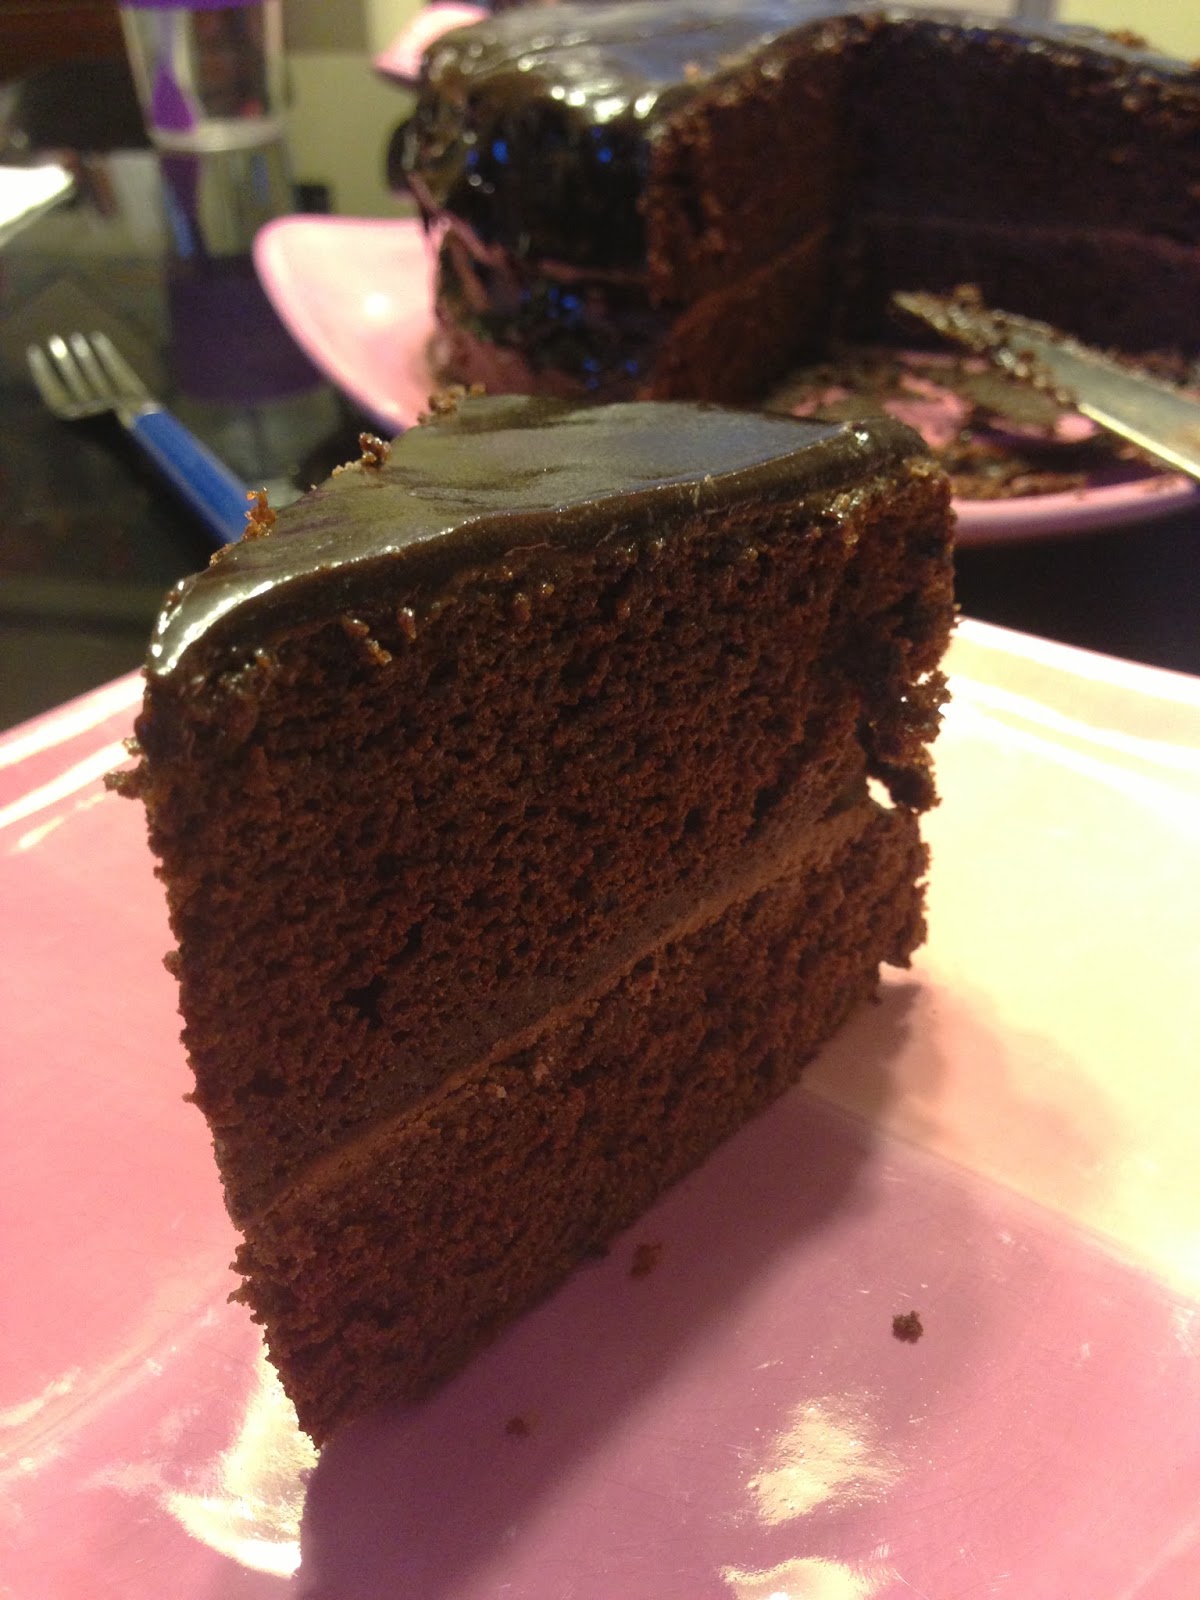
Her birthday cake ended up being a chocolate cake with chocolate frosting and chocolate glaze to top it all off. Basically chocolate overload. But whats better then that?

Even in a house with three people this cake didn't last long. By not long I mean less then 24 hours after it was first cut into. Gina's favorite part was the frosting. As I type she has just finished licking the last of the frosting off of her plate.

The original frosting recipe called for semi sweet and unsweetened chocolate. Since I didn't have un-sweeted, I improvised. That's basically what baking is all about half of the time, shaping recipes to what is in your kitchen. Instead I used a Hershey's bar and bittersweet chocolate. I was hoping the bittersweet would counter the super sweet, and it did. This frosting is definitely chocolatey.

The chocolate glaze really isn't necessary to make this chocolate cake, but I think it takes it to the next level.

The glaze basically was a very shiny ganache that set quickly. After making and frosting the cake I stored it in the fridge until it was time to cut into.

It cut perfectly. The only problem is you may be prone to cut the pieces slightly larger then your normal pieces of cake... but thats ok. After dinner everyone said they were stuffed, but they didn't have any problem finishing a HUGE slice of cake.

It's one of those things where you say you're full, but then it is just sitting in front of you, and looks so good, so you say just one more bite... and that bite leads to another... and another. Basically this is my new go to cake recipe. It tastes better then store bought. It is a crowd pleaser and no one will believe you didn't buy it from a bakery.

Ingredients:
For the cake:
2 C flour
1 C cocoa powder
1 1/2 tsp baking soda
1/2 tsp salt
1/2 C butter
1 C brown sugar
1 C granulated sugar
3 eggs
1 1/2 tsp vanilla extract
1 1/2 C butter milk ( or 1 1/2 C milk with 1 tablespoon of lemon juice)
For the frosting:
1/2 C butter
2 C powdered sugar
1 tsp vanilla
1 Hershey's bar
1 C bittersweet chocolate
For the glaze:
3/4 C semisweet chocolate
3 tablespoons butter
1 tablespoon light corn syrup
1/2 tsp vanilla
OR if you don't have access to light corn syrup
1 C milk
3 tablespoons butter
1 tablespoon light corn syrup
1/2 tsp vanilla
OR if you don't have access to light corn syrup
1 C milk
1 1/4 C semi-sweet chocolate chopped
Directions:
1. Preheat oven to 350. Line and grease the bottom of two 9 inch cake pans with wax paper. After you lay down the wax paper, add more non-stick spray.
2. Make the cake: mix together the butter and the sugar. Next beat in the eggs one at a time. Then add in the vanilla extract. If using a mixer, beat for a least 5 minutes.
3.In a separate bowl, mix together the cocoa, flour, baking soda, and salt.
4.In a measuring cup, measure out 1 1/2 cups of milk and add in the lemon juice.
5.Alternate adding the flour mixture and the milk into the sugar mixture. Mix until smooth. Evenly pour into the prepared pans. Bake for 20-25 minutes
3. While the cake is baking make the frosting, cream together the butter and the sugar. Add in the vanilla. Next melt the chocolate and beat it in. Place in the fridge until the cake is done.
4. In a double boiler, mix together all of the ingredients for either of the chocolate glaze recipes. Stir until smooth, then take off of the heat.
5. When the cake is done let cool completely. Then take one layer and flip it upside down onto a plate. Slowly peel off the wax paper. Frost this flat half. Next take the wax paper off of the other 9 inch round and stack it on top of the frosted bottom layer. Add more frosting on top. Next pour the ganache over the top of the cake and refrigerate until set. Cut, and enjoy!

0 comments:
Post a Comment