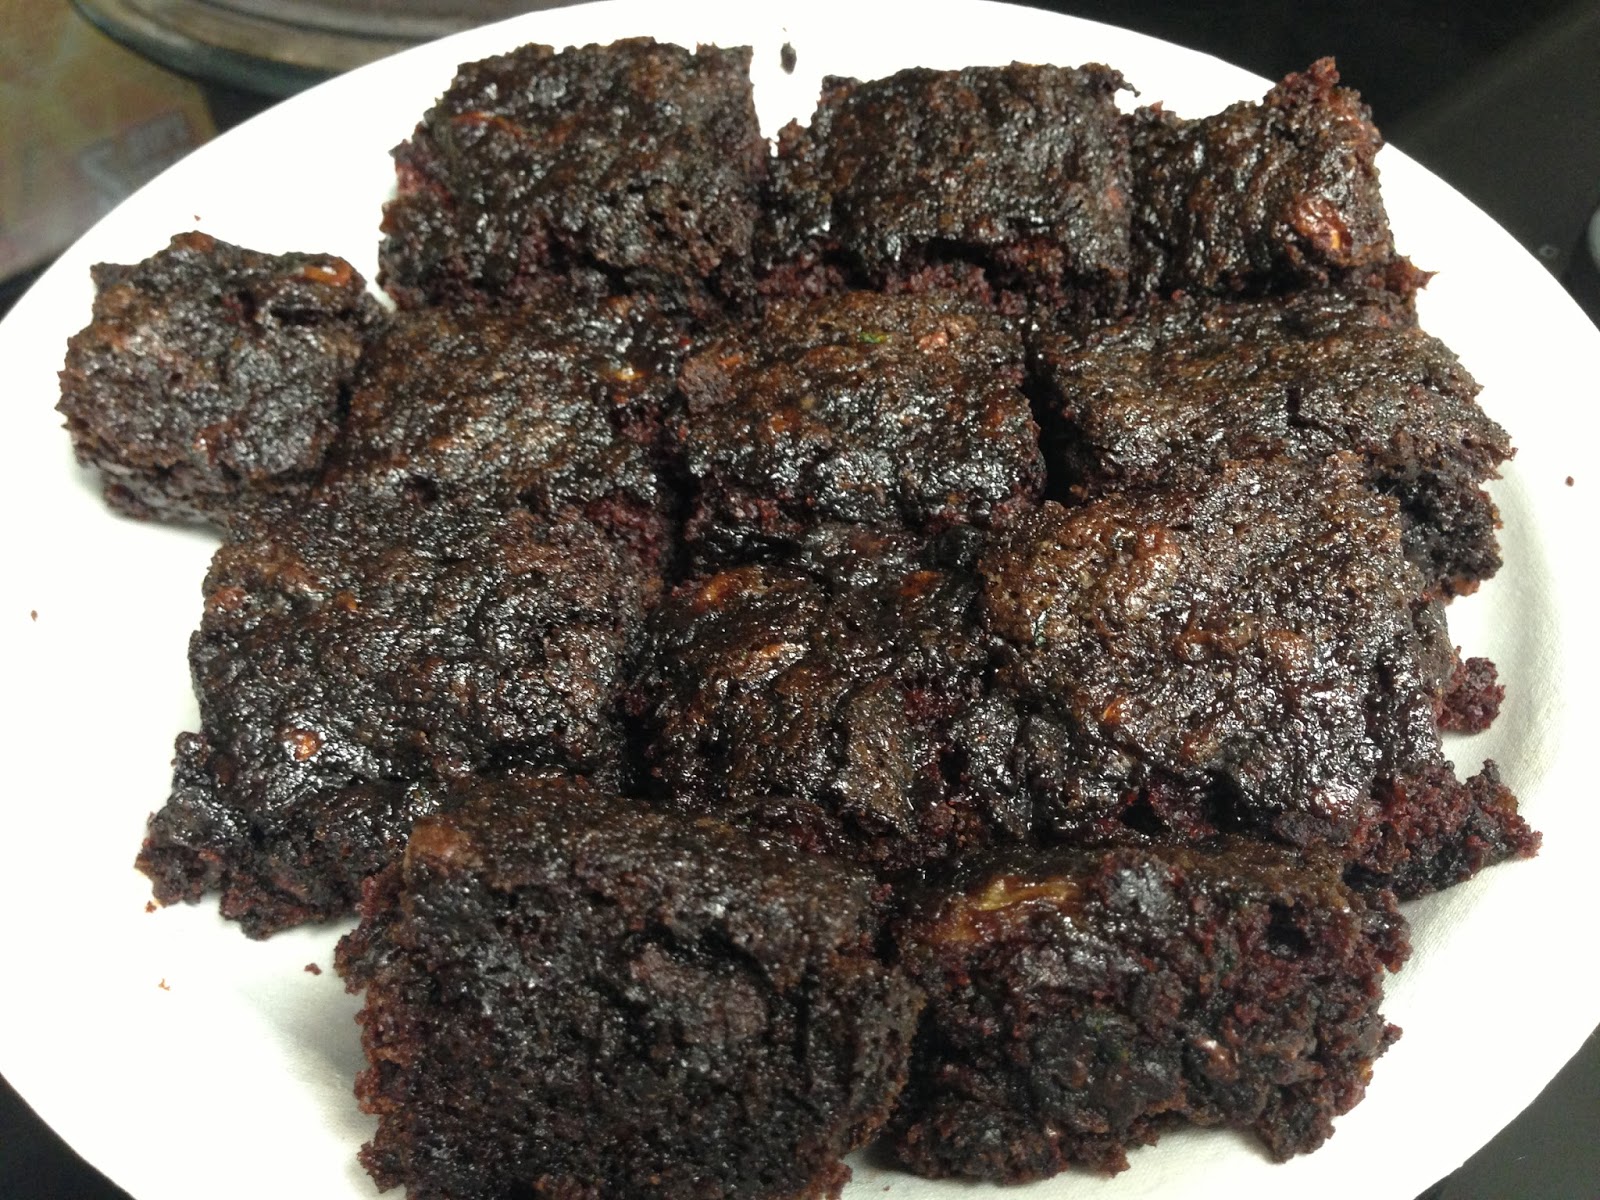
Gluten Free Banana Bread

I've never baked with rice flour before, actually I've never baked with any other flour besides all purpose flour. It was on sale at the market so I bought a bag of brown and white rice flour. I was a little skeptical about how this bread would turn out. I tried to find a sugar free gluten free banana bread, but my search turned up empty. So I decided to create my own. I used a equal ration of brown to white rice flour. I also used every baking substitute I know, meaning greek yogurt and apple sauce were utilized. This kept the bread moist and surprisingly sweet.

After hearing horror stories about how gluten free breads came out like hockey pucks, I was very happy with the end product.

At first bite the bread was soft and moist. The added chocolate chunks were a nice surprise and complimented the not over bearing banana flavor. It was sweet due to the natural sweetness of bananas. The bread also stayed light and fluffy. It rose considerable well. The texture of the bread was actually better then that made with all-purpose flour. The fluffiness was comparable to that of a yeast based dinner role. This is not like the normal dense banana breads.

Overall, I liked this banana bread recipe better then the other recipes I have tried using all purpose flour. Once I combined all of the ingredients I sampled the batter. Since I'm not used to the different texture of the batter provided by the rice flour, I was afraid it wasn't sweet enough. I added in some sugar, however this can easily be omitted to make the recipe diabetic friendly. If you need a dairy free recipe simply substitute the greek yogurt for oil or margarine.


Ingredients
2 eggs
2 tsp vanilla
3 bananas
1/3 C unsweetened apple sauce
6 oz greek yogurt (I used a container of vanilla greek yogurt 5.3 oz)
1 C white rice flour
1 C brown rice flour
3 tablespoons of sugar (optional, add if want a sweeter flavor)
3 tablespoons of sugar (optional, add if want a sweeter flavor)
1 tsp baking soda
1 tsp baking powder
1 tsp cinnamon
1 C dark chocolate chunks
Directions
Preheat oven to 350. Prepare a 9x5 pan.
1. Mix together the eggs, smashed bananas, apple sauce, and greek yogurt
2. In a separate bowl mix together the flours, baking soda, baking powder, and cinnamon
3. Add the wet ingredients to the dry ingredients.
4. Fold in the chocolate chunks.
5. Bake for 40-45 minutes.